


By Beth Eslinger and Jessica Bennett | BHG.Com
Troy Warren for CNT #homegarden

Repurpose remnants from larger redos with these clever leftover tile projects. We’ll show you how to personalize furniture and decor using extra tiles.
When purchasing tile for a project, it’s generally a good idea to order extra in case you make a mistake or break a few during installation. But if you’re left with surplus tile after your backsplash or shower is finished, consider how you can repurpose it instead of throwing it away. These clever DIYs use leftover tile to personalize plain furniture and create custom decor.
Whichever project you choose, keep in mind that it’s best to use a tile format and size that will require few cuts to fit. For example, 1- or 1/2-inch mosaic squares on mesh netting is a versatile choice for many projects and can be cut to size with heavy-duty scissors. Learn how to repurpose the remnants from your kitchen or bath redo with these creative leftover tile projects.
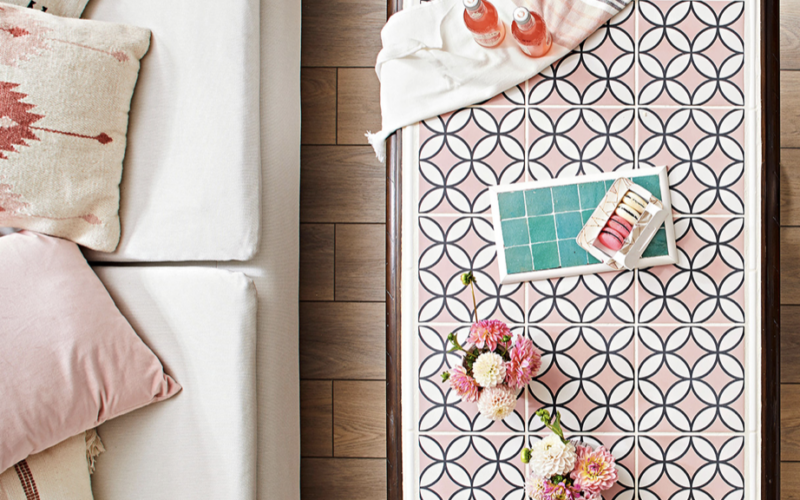
1. Revamp a coffee table with patterned tile.
With a raised border, this online-bargain coffee table was a perfect candidate for a tile facelift. Before you begin, map application options on graph paper to determine the easiest fit. Cut scrap paper to the size of your tile and lay out the design with tile spacers between the patterns. With your visual cue in place, determine any tile cuts and whether finish tiles are needed.
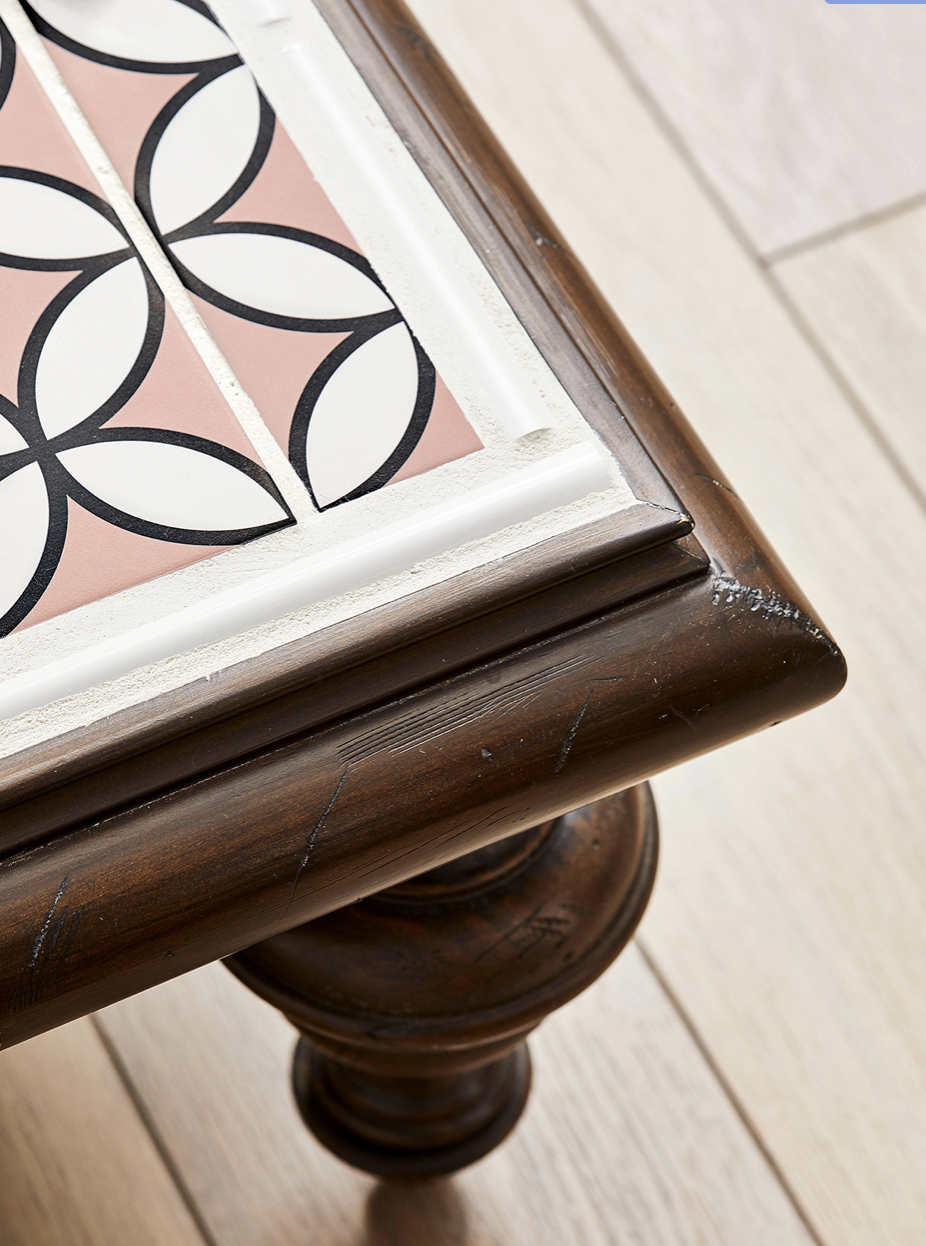
Once all your materials are assembled, position the tiles—we used these 8×8 Brilliant Pink Porcelain tiles ($38, Overstock)—on a protected work surface using spacers between. Apply a thin layer of tile adhesive to the tabletop. We had about 2 inches of extra space all around, so we used 1-inch border tiles to finish the table. Apply border tiles using the spacers and then the larger center tiles, adjusting spacing as needed. Let dry. Before grouting, protect the wood surface with painters tape ($11, Amazon). Follow the manufacturer’s instructions to apply and clean up the grout. Remove the painters tape and put the table on center stage.
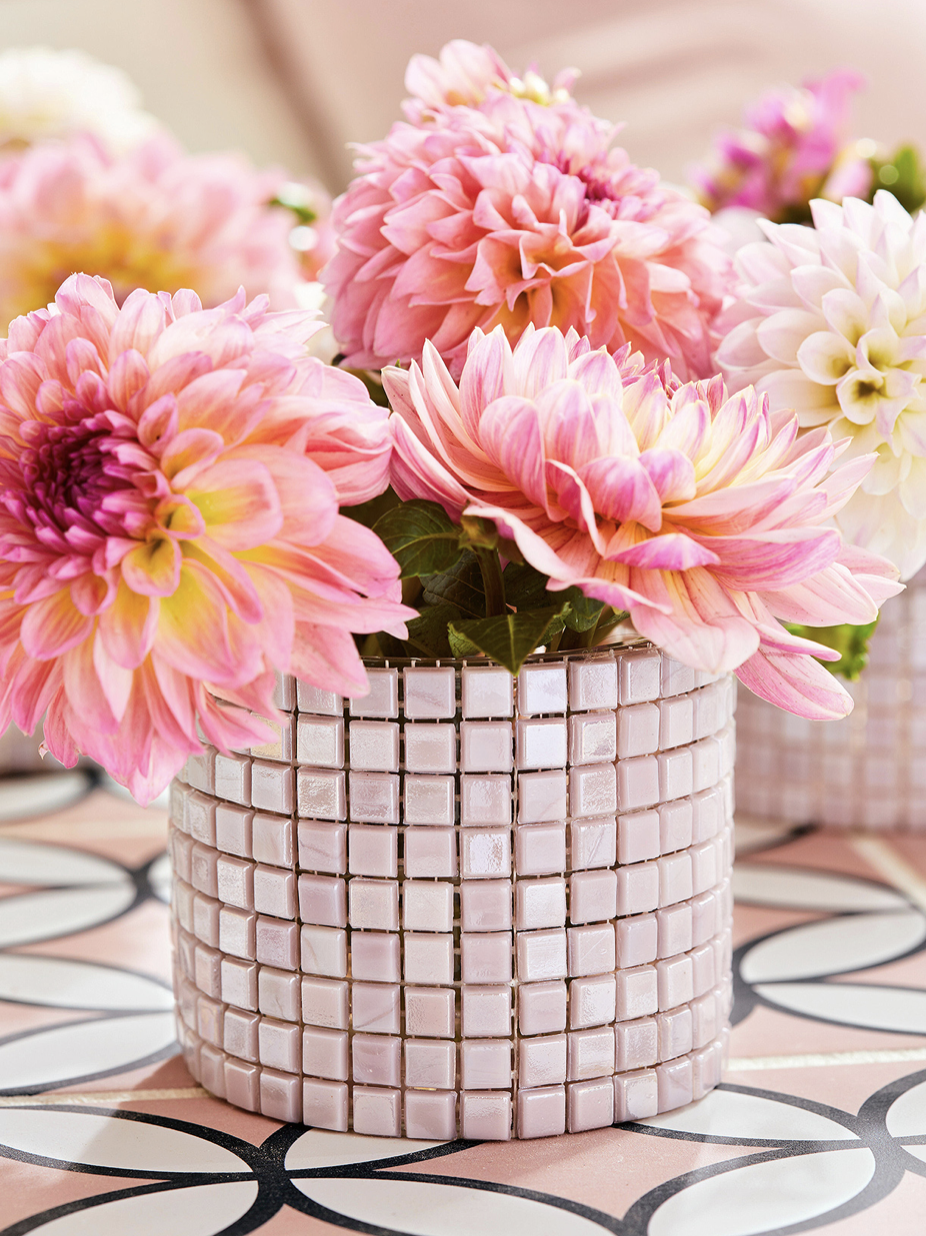
2. Make an easy DIY centerpiece.
This sweet and stylish tiled vase is an easy way to use leftover tile. The trick is finding glass vases that are complete cylinders (these are 3 inches tall). Lay out the glass tile on a flat surface and position the vase at one corner. Cut the mosaic tile to the vase height. Roll the tile around the vase, trim any excess, and secure the edges with painters tape. Attach one end of the tile with clear adhesive—we used Gorilla Glue ($12, Amazon)—and tape until dry, then glue the other tile end and secure with painters tape until dry.
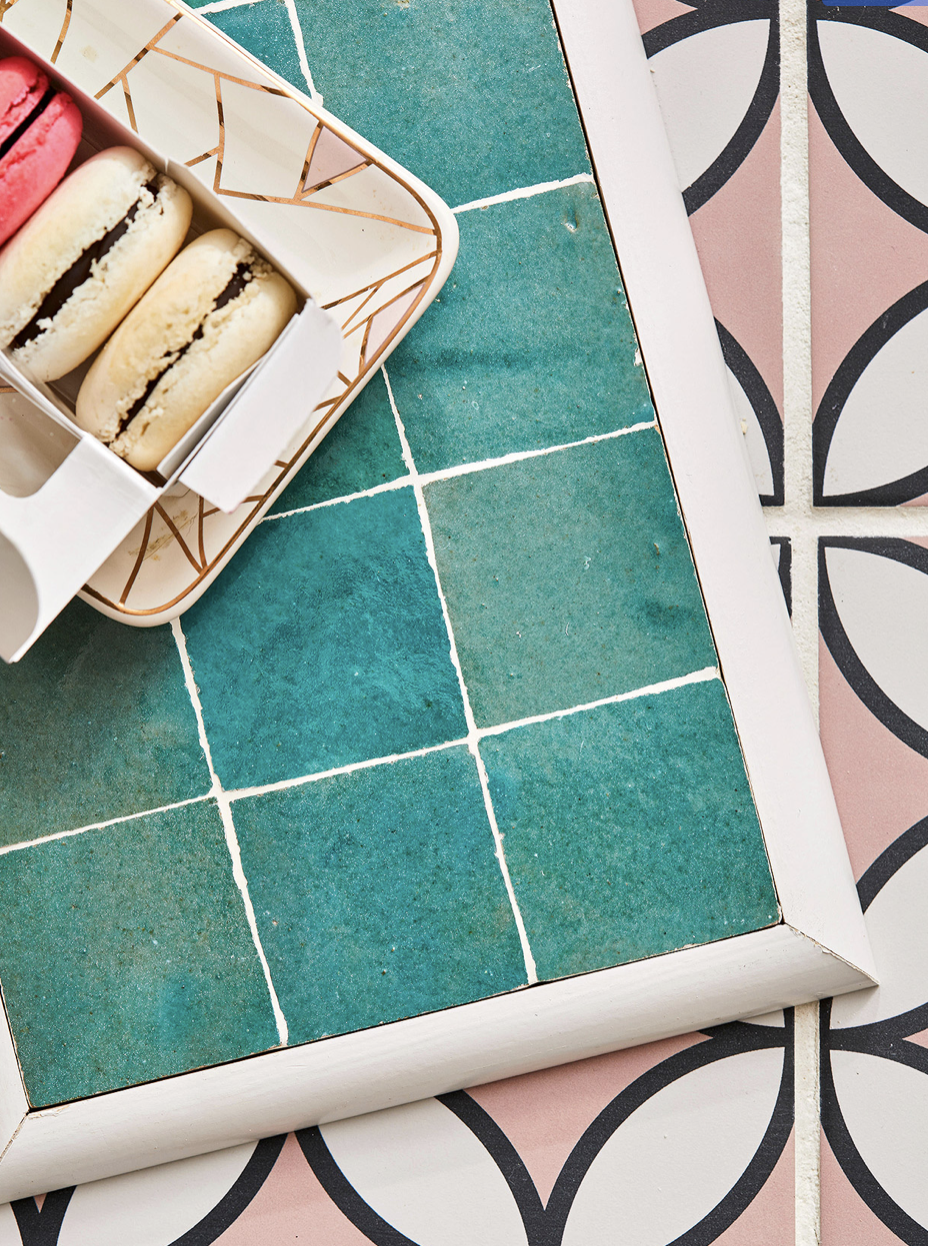
3. Create a serving tray or trivet.
A single tile or portion of a larger mosaic can become a serving tray or trivet with simple woodworking skills. Cut a piece of plywood to fit the tile size plus trim. Choose plywood thick and sturdy enough to support your tile. Use liquid nails to attach tile to the center of the plywood piece. Cut quarter round trim with 45-degree mitered corners to frame the tile, then paint and let dry. Grout between tiles if working with mosaic; let dry. Glue the molding to the tray edges. Clamp until dry. If desired, attach felt pads to protect your tabletop.
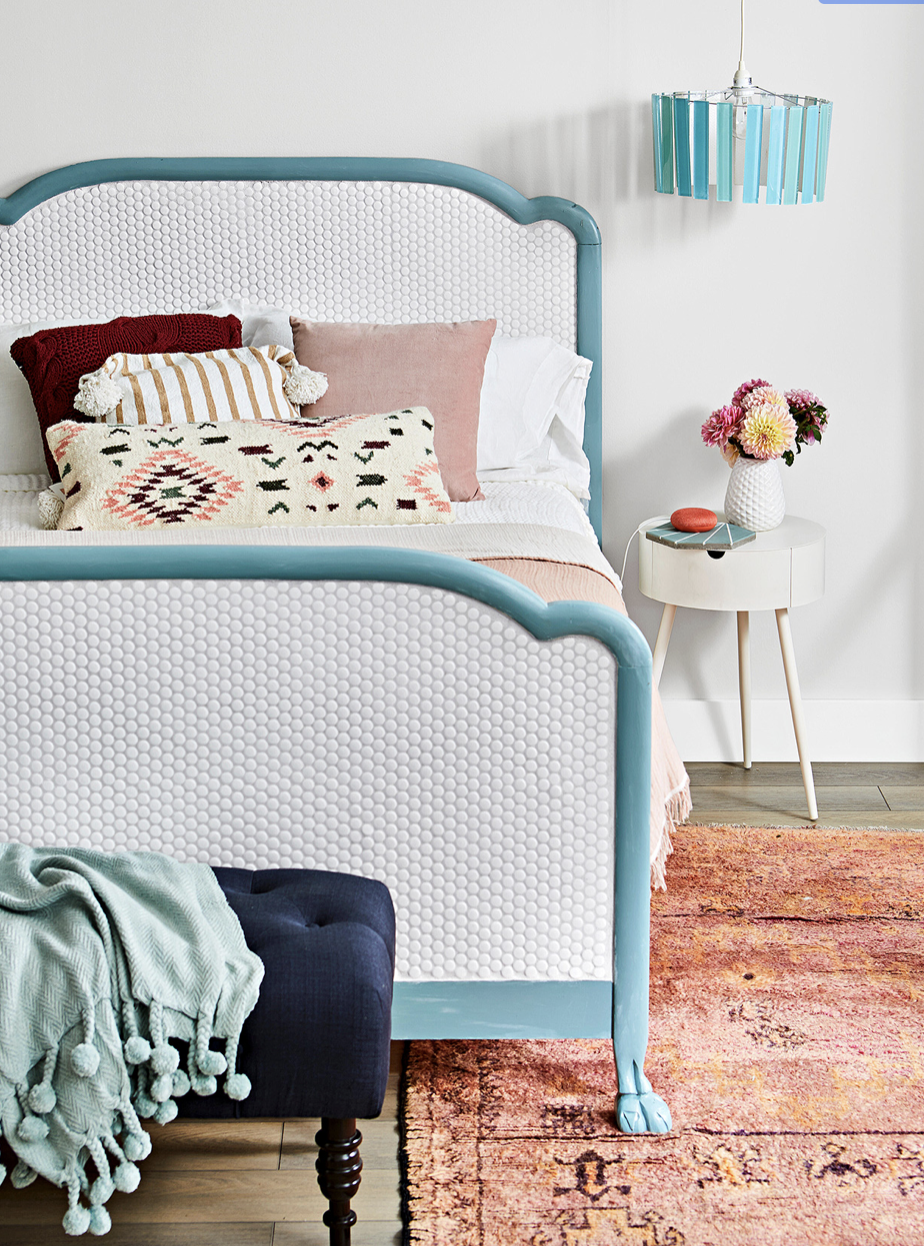
4. Refresh a vintage headboard.
Affordable penny tiles are easy to fit into curvy shapes such as this vintage headboard and footboard. Clean, prime, and paint your furniture piece the desired hue. Let dry. Working on a level surface, arrange the tile sheets on your project. We created a paper template for the top of the headboard and footboard and cut the tile sheets to fit. Adjust the tile sheets on the furniture, using spacers as needed, and number the order with painters tape. Set tile aside. Protect painted portions with painters tape. Using a trowel, spread a thin layer of tile adhesive on the furniture. We worked one row of tile sheets at a time. Repeat with remaining sheets and let dry. Use a tile float ($10, The Home Depot) to apply grout the same color as the penny tiles to hide imperfections. Remove grout residue with water and a tiling sponge.
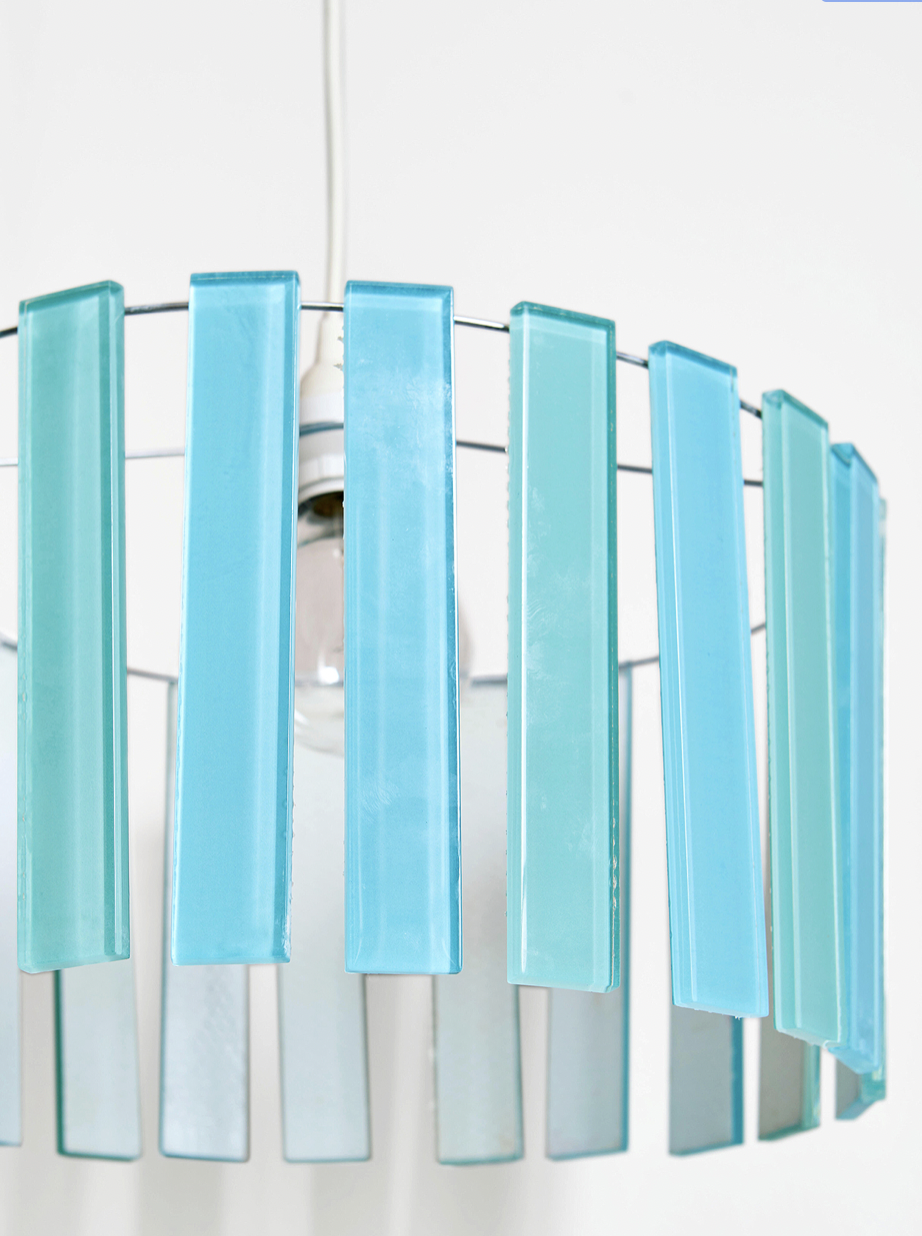
5. Create custom lighting.
Glass tiles create a sparkly solution for bedside lighting. Remove glass tiles from their mesh backing, arranging in the pattern of your choice. (This design uses two colors of glass tile.) Using clear superglue, attach a small Command hook ($8, Target) to the back of the glass tile so it aligns with the top edge. Let dry. Thread a pendant light kit through a drum-shade wire frame ($16, Amazon). Simply attach the hooks to the wire. Note: This project is heavy, so attach it to a heavy-duty hook in a ceiling joist for hanging.
Self-adhesive hooks make this project tool-free. To handle the tile weight, glue the hooks to the back of the glass tiles with a strong adhesive—we used Gorilla Glue Super Glue ($4, Target). Once dry, simply slip each hook over a wire drum-shade frame.

6. Transform a builder-grade bookcase.
This versatile bookcase featured a sturdy, simple frame. We sanded, primed, and painted the unit before applying tile. Because our tiles weren’t square, we cut the edge pieces using a tile saw (available for rent; some home centers will make cuts for you). Lay the bookcase on a flat, protected surface and fit the tiles, using tile spacers ($3, The Home Depot). Once you’re happy with the design, move the tile arrangement to the side of your project. Spread a thin layer of tile adhesive on the back of the first opening. Carefully place the tiles using the spacers. Repeat with the remaining openings. Let dry according to the manufacturer’s directions. When fully dry, spread prepared grout over the tile using a tile float, removing excess with a tiling sponge.
For this leftover tile project, look for a short bookcase for stability. If you choose a taller style, make sure to secure it to the wall so it won’t tip over.
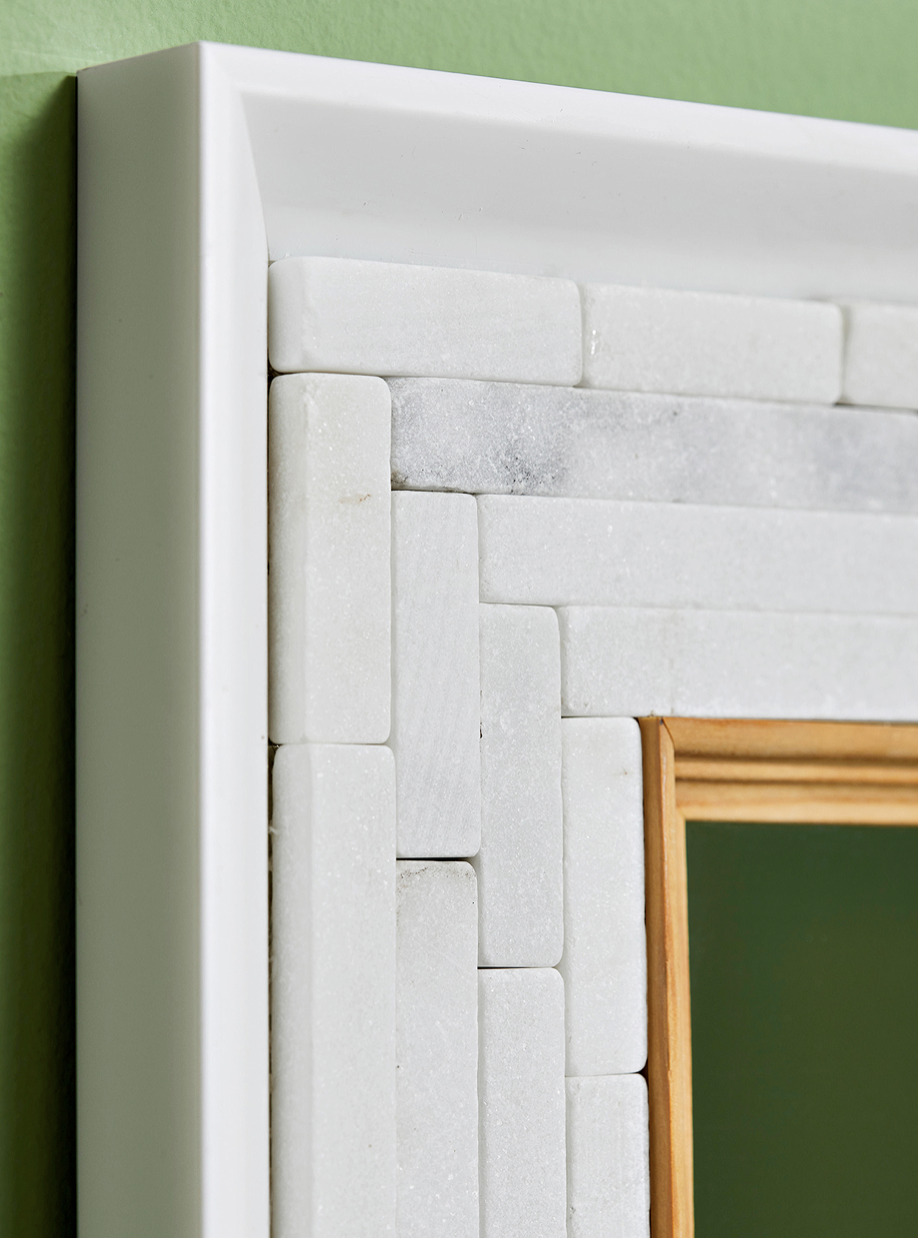
7. Make a mosaic mirror.
This basic framed mirror ($55, Amazon) gets a style boost with dry-set marble tiles and accent molding. Remove the mosaic tiles from the mesh background (it’s a great project for kids or to do while binge-watching). Starting at the corners, lay out the tile in a herringbone pattern. When happy with the corners, position tiles along the sides, alternating long and short tiles. If any small spaces remain uncovered, use a tile snip to cut tile to fit (wear eye protection). Remove one tile at a time, add a small bead of superglue, and secure to the frame. Continue until all the pieces are attached. To finish, trim the interior with a thin piece of decorative molding, using a miter box and saw to cut the corners.
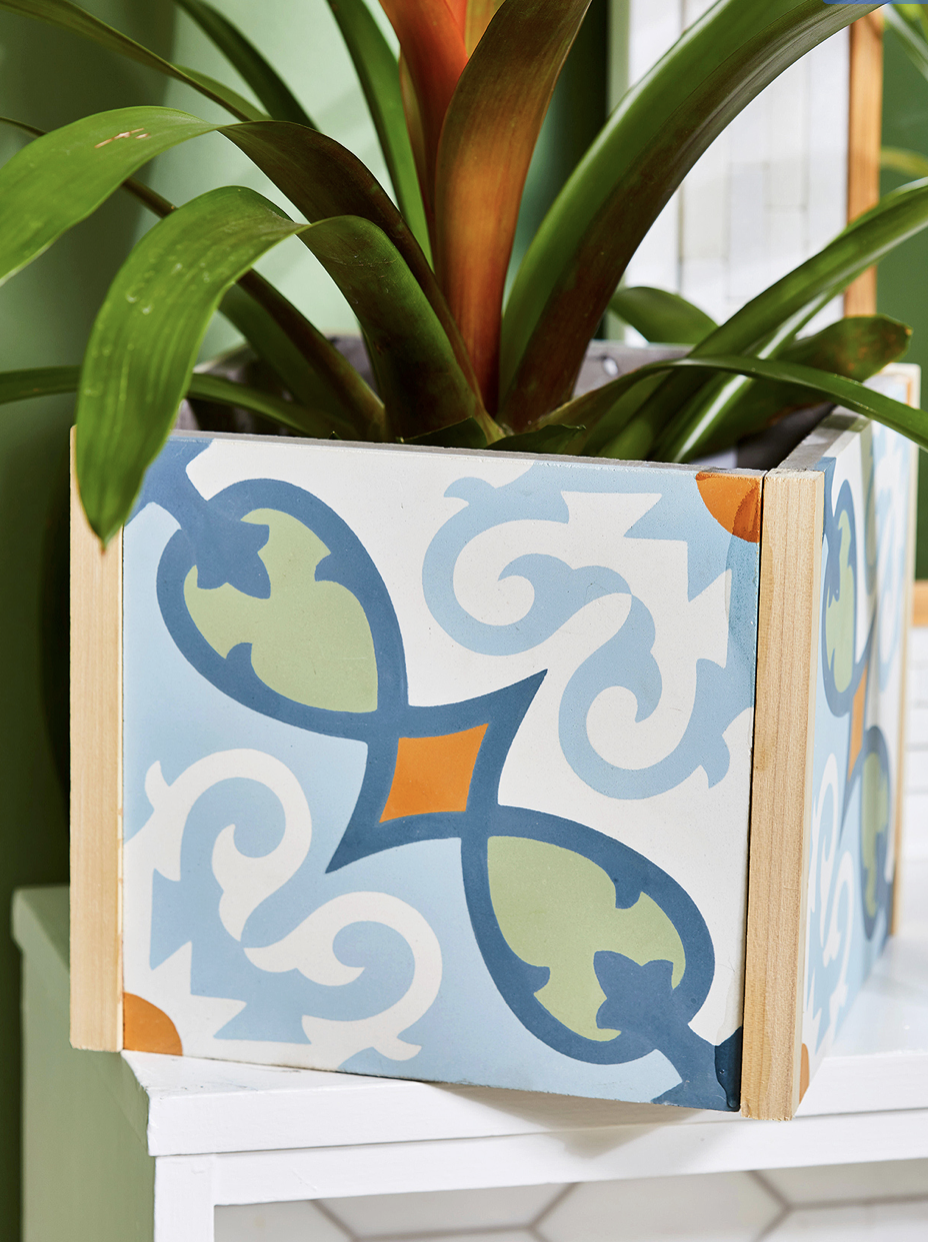
8. Construct DIY tile planters.
Moroccan tiles make striking containers for indoor and outdoor plants. Cut four 3/4-inch square wood dowels to the tile height using a miter box and saw. Attach dowels to the sides of two tiles with clear glue; clamp. Once dry, glue and clamp the remaining sides. We used an affordable basic tile for the planter base. While you can drill a hole in the bottom of the bottom for water drainage using a masonry bit, we opted for a plastic planter insert that’s easy to remove.


In Other NEWS