Brian Bennett | CNET.Com
Troy Warren for CNT #Foodie
Clean your Keurig coffee pod brewer in a few simple steps.
Coffee makers get dirty as you use them, and Keurig pod brewers are no exception. Over time, this accumulation can negatively impact your caffeine machine’s performance. Given enough mineral buildup in the inner workings, your Keurig might even stop running. Cleaning it regularly is a simple way to avoid that unpleasant situation.
In addition to the brewing system, drip trays and water tanks also require frequent love and attention. Even the exterior of your machine will gather unsavory stains, fingerprints, and other marks of grime. Here’s how to tackle these issues before things get too far out of hand.

Step 1: Clean the outside
Start by wiping down the brewer’s exterior. Keurig actually recommends you do this daily. First, make sure the coffee maker is powered off and unplugged. Next use a damp cloth to wipe away dust and other debris from the outside of the machine.
Pay close attention to the area on the front, right below the coffee dispenser. This section typically attracts plenty of splashes and drips.

Step 2: Wash the drip tray
Another coffee machine part that’s prone to grime is the drip tray. Liquid from spills often sits inside it unnoticed. Coffee drips can evaporate here too, leaving stains behind. A quick hand wash in the kitchen sink will clear up this mess in a jiffy. Warm water and dish soap does the trick nicely. Perform this cleaning task daily.

Step 3: Clean the water tank
Here’s another daily cleaning task. That’s to give the same hand wash treatment to the water tank. Be sure to remove the water filter first if your machine has one. Depending on your brewer, your tank may be safe to throw in the dishwasher.

Step 4: Check the pod holder
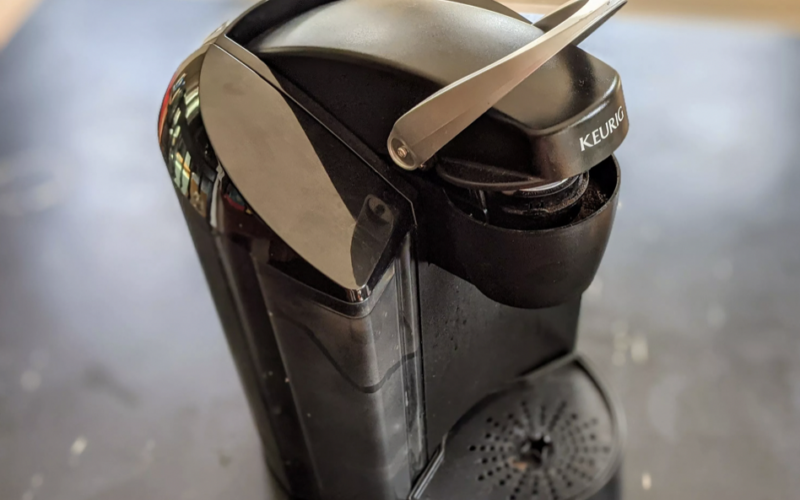
The dirtiest section of my test Keurig K-Classic brewer was its pod holder. Grounds, dirt and dried coffee had formed a noticeable amount of crud here. To fix this, I removed the pod holder, and separated it into its two main parts. Then I gave them a water rinse and a good scrub with a damp cloth.
You may also want to use a paper clip to clear any debris from inside the brewer exit needle. The exit needle sits inside the pod holder. Take care though since that needle is sharp. Be advised that Keurig recommends you clean the pod holder every week.

Step 5: Flush out the system
Keeping your Keurig machine’s brewing system clean is critical. Dirty hardware can lead to unwanted flavors carrying over from the last brew. Tasting pumpkin spice latte in your Sumatra single origin is not ideal. Bits of grounds or other debris could cause clogs too, even a malfunction.
To clear everything out, run a daily water only brew cycle through the machine. Make sure there’s enough water in the reservoir and that the pod chamber is empty. You can run any cup size cycle you like, as long as the mug you’re brewing into is large enough to accept the liquid.
And if you’ve never descaled your brewer, or it’s been three months since you have, consider doing so. According to Keurig, you should perform the procedure quarterly. You can use either vinegar or the company’s special descaling product. Keep in mind that it is a lengthy process requiring at least 45 minutes (4 hours with vinegar).
Still, descaling will remove any mineral deposits (often found in tap water) that may be clinging to your brewer’s internal components. This in turn ensures your coffee maker brews its optimally designed temperature.
Once you’ve completed all these steps, wipe down the brewer again to remove any excess moisture. It should now be ready to brew in tip top shape.
In Other NEWS


